
Blisters and Chafing on Treks | How to Prevent and Treat?
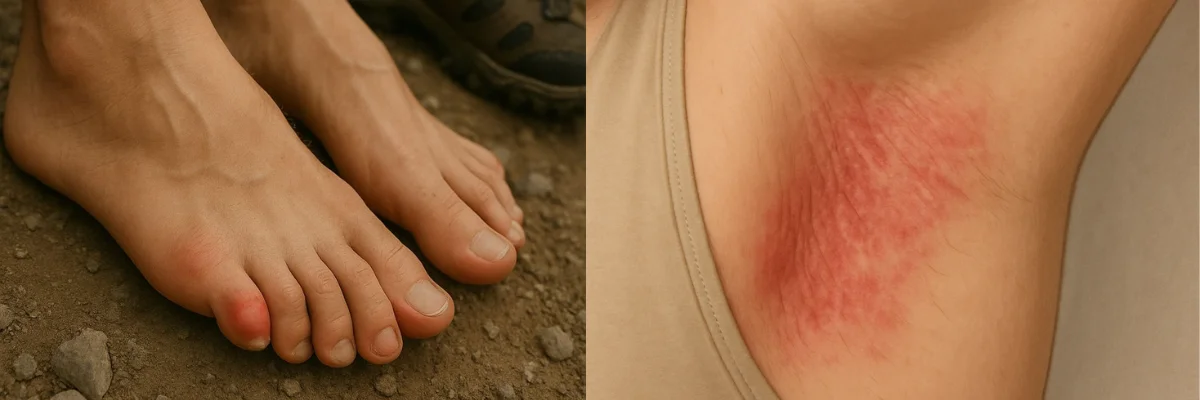
Table of Contents
Have you ever been trek and felt sudden burn on your feet? A burning sensation in your armpits or in your groin area? Blisters and chafing can turn a thrilling trek into an uncomfortable ordeal, especially in Nepal’s rugged terrain where long days and harsh conditions test every adventurer’s endurance.
If you ever had been on a hike or long strenuous trek, then you might have had blisters and Chafing.
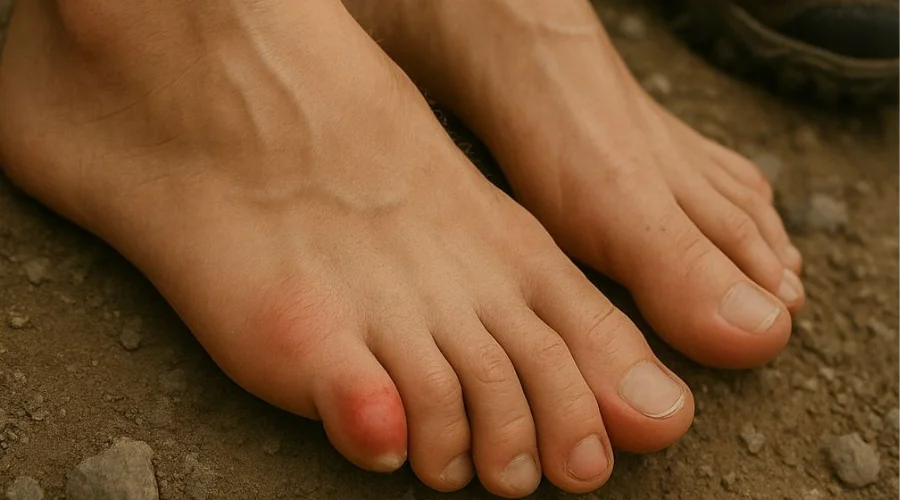
Blisters and Chafing are problem that every trekker or hiker faces. Blisters are very common and they usually occur in your feet. Chafing is another problem that usually occurs in your armpits, between legs (near your private areas). Read this article and find the solution to avoid the irritating problem on your trek.
Causes of Blisters During Trekking
Blisters during trekking are triggered due to different factors like pressure, friction and moisture. The most common cause of blister is friction, which means the repetitive rubbing of your skin.
Pressure is another factor in causing blisters. Unfit shoes, boots or wrinkles in your shoes can create a friction pressure point. The repetitive rub and pressure cause blisters especially while on long treks like Upper Dolpo Trek .
Sweaty feet or wet socks make your skin softer and more prone to damage, so even a little rubbing can turn into a full-blown blister.
Tiny things like sand, dirt, or small stones that sneak into your shoes while you’re walking can grind against your skin and cause irritation that turns into a blister.
Why High-Altitude Treks Cause More Blisters?
High-altitude treks like Everest Base Camp Trek tend to cause more blisters and chafing mainly because your body is under more stress, and your gear behaves differently in thinner air.
At higher elevations, feet swell more due to reduced oxygen and blood circulation, making your boots feel tighter and more likely to rub. You also sweat less, but that doesn’t mean drier feet; moisture gets trapped inside boots, softening the skin and raising the risk of friction.
Cold mornings and warm afternoons mean layers constantly shift, and that movement can irritate the skin around straps and seams. Plus, the longer hours on rough terrain make small pressure points turn painful fast.
When your focus is on breathing and pushing through altitude fatigue, it’s easy to ignore early signs until the discomfort turns into a full-blown blister.
Why the First Few Days Are the Most Important for Blisters Building?
The first few days of any hike are when your feet are most at risk. Most blisters tend to show up around day two when your skin’s still adjusting to the pressure and movement.
If you can protect the usual trouble spots during these early miles, you’re more likely to finish the trek without issues. That means paying close attention and checking your feet often, especially during breaks.
If something feels even slightly off, like a small warm patch or odd rubbing, don’t ignore it. That’s your early warning. Once it starts stinging, damage is already done.
A smarter move is to protect vulnerable areas in advance before you even hit the trail; think of it as armour for your feet. A little effort early on can save you a lot of pain later.
How to Treat Blister?
Not knowing how to treat blister can cause even bigger problem like severe infection and wound. Here are ways, you should treat your blister.
Clean it up
First thing, wash your hands if you can or use hand sanitiser. Then, gently clean the area around the blister with clean water or an antiseptic wipe. Keep it low-key; don’t scrub or mess with it too much.
To pop or not to pop?
If it’s small and not painful, leave it alone. Nature has a Band-Aid built in. Just protect it with a bandage or moleskin. If it’s big, painful, or in a spot that’s getting rubbed, it’s usually better to pop it safely.
How to pop it safely
Sterilize a needle with a flame or alcohol. Gently pierce the edge of the blister, just enough to let the fluid drain.
Don’t remove the skin flap because it’s a natural barrier against infection.
Cover and protect
After draining, pat it dry. Apply antibiotic ointment if you’ve got it. Then, cover the blister with a clean bandage, blister pad, or gauze. If you’re still hiking, pad the area around it to reduce pressure and friction.
Let it heal
Keep checking it daily. Change the bandage if it gets dirty or wet. If it shows signs of infection (redness, pus, swelling), you need to rest and maybe even see a doc.
How You Can Stop Blisters During Trekking?
Adopting following measures will help you stop blisters during your trek.
- Break in your boots: Never wear new shoes straight to the trail. Walk them in first.
- Wear good socks: Go for moisture-wicking ones (like wool or synthetic). No cotton.
- Keep feet dry: Change damp socks ASAP. Use footpowder if needed.
- Use tape or patches early: Cover hot spots before they turn into blisters.
- Trim your toenails: Long nails = pressure and friction.
- Use lube or anti-chafe balm: On heels and toes, anywhere that rubs.
- Pack smart: Always carry a blister kit (tape, patches, ointment, tiny scissors).
- Keep laces snug: Not too loose, not too tight. Prevents sliding inside your boots.
How to Choose Blister-Free Hiking Shoes and Socks?
Choosing the right type of shoes and socks for your hike can be a game changer. Choosing blisters-free shoes involves shoes that feel snug but not tight, with enough space to move your toes and no slipping at the heel. Go for the shoes that provide good breathability and flexibility, and always break them in before wearing them on a hike.
Look for a shoe design that matches your terrain, for light hikers for easy trails and sturdy boots for rough treks. Combine those shoes with moisture-wicking socks, which are made of wool or synthetic materials but not cotton because they trap sweat and cause friction. Socks should fit properly without bunching and wrinkles.
Ways to Prevent Blisters While Trekking
As the old saying goes, “Prevention Is Better Than Cure” You should take necessary measures to stop the blisters before happening. The following prevention tips will help you delay or not have blisters on your trek.
- Break in your boots early. Don’t wait till trek day; wear them before so your feet get used to them and any tight spots soften up.
- Don’t wear cotton socks. Go for wool or synthetic ones that keep your feet dry. Wet socks trigger friction, which causes blisters. Simple math.
- Change socks mid-hike if they get sweaty. Trust me, your feet will thank you later.
- Feel even the slightest rubbing? Don’t ignore it. Stop, and apply some moleskin or tape. Catch it early, and avoid the pain.
- Swipe a bit of Vaseline or anti-chafe balm on your heels and toes before starting. It’s a small step that saves a lot of hurt.
- Make sure your boots aren’t too tight or too loose. You want snug but not cramped, not sloppy.
- Trim your toenails before the trip. Long nails can dig into your toes, especially on downhills.
- Learn how to lace your boots right. Different lacing tricks can stop your foot from sliding or your heel from lifting.
- Always carry a tiny foot fix kit like blister pads, band-aids, small scissors, and fresh socks. It weighs nothing but does everything.
- Lastly, if your feet start hurting or you feel a blister is forming, don’t ignore it or push through and deal with it. Being stubborn will lead to blisters.
First Aid for Blisters on the Trail
Taking the following first aid measures for blisters when on the trail will help you heal them or reduce the pain.
- When you feel a blister is forming in your feet, take a break and deal with it before it turns into a wound.
- Clean the area with water or a wet wipe to keep dirt out and reduce the risk of infection.
- Apply moleskin, a blister pad or tape on the spot. If it’s just forming, then padding alone might be enough.
- If the blister is already formed but unbroken, leave it intact because it’s nature’s bandage. Add a cushioned pad with a hole around it to protect it. Don’t peel the skin because it protects the new skin underneath.
- If it pops or needs draining, clean a needle with flame or alcohol, poke the edge (not the centre), and let the fluid drain gently.
- Once the blister’s drained (or if it popped on its own), dab on a little antibiotic cream, not too much, just enough to cover it. Then grab some clean gauze or a bandage and cover it up. Use whatever tape you’ve got to keep it in place, but make sure it’s not too tight.
- Keep checking on it as you hike. If the skin around it starts looking red, feels hotter than usual, or you notice any weird yellow stuff coming out, don’t ignore it. Clean it again when you stop, and if it keeps getting worse, it’s best to get it looked at by a medic or local clinic. Better safe than sorry out there.
How to Treat Blisters Without Stopping Your Trek?
When you start having blister mid-hike, stopping completely isn’t an option. You will have to think smart and learn to adapt on the move. First, loosen your laces a bit to relieve pressure without sacrificing support. If there is swelling, elevating your foot slightly during short breaks can help bring it down.
You can also change your walking pattern slightly, taking pressure off the sore spot by adjusting your stride or trekking pole use. For extra relief, try slipping a thin layer of folded tissue or soft cloth under your sock right beside the blister to ease friction.
And if your boots are rubbing in the same spot often, switching to a second pair of lighter shoes can buy your feet some recovery time without ending your journey.
What is Chafing?
Chafing is that painful, burning skin irritation you get when your skin rubs against itself or clothing for too long. It often shows up as red, sore patches, sometimes even raw skin and usually happens in areas like your thighs, underarms, groin, or nipples.
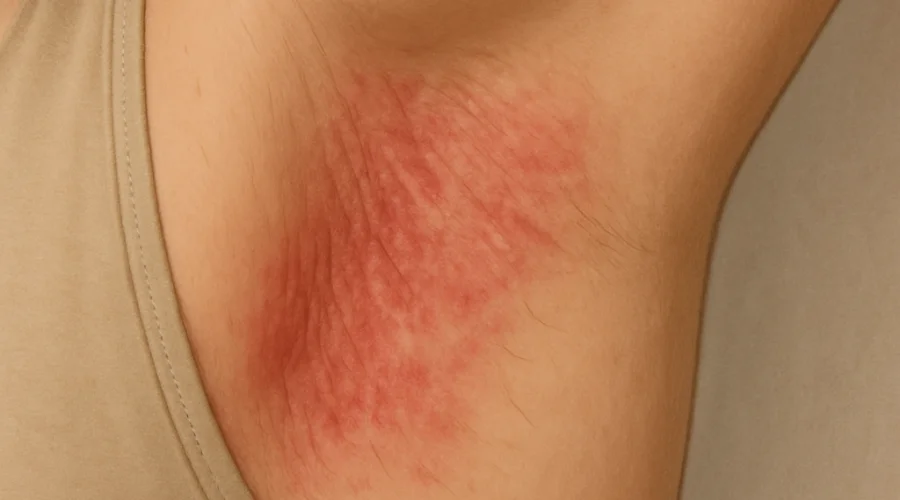
Sweat, heat, and friction are the main things that cause chafing. Anyone can get chafing, but it’s more common during workouts, hikes, or long walks, especially in hot weather.
It can feel like a sting or burn and only gets worse if you keep moving without treatment. It’s totally preventable and treatable with a few simple habits.
Causes of Chafing
Chafing is not problem everyone faces and following points can be reasons for building up chafing in your body.
- People with a higher body mass often have more skin-to-skin contact, especially around the thighs, underarms, and belly folds, which increases the risk of chafing.
- Wearing clothes that are too tight or made of coarse fabric can rub harshly against the skin.
- Excessive sweat makes the skin damp and more prone to friction, which increases the risk of chafing.
- Hot and humid weather makes you sweat more, which softens the skin and makes it easier to irritate.
- Long-distance running or walking activity causes constant rubbing and moisture buildup in certain areas.
- Wearing wet or non-breathable clothes, clothes that stay wet or don’t let your skin breathe, trap sweat and cause more friction.
- Not using lubricants or anti-chafing products leaves skin unguarded and vulnerable to rubbing.
How to Treat Chafing?
Following points provide you a guide on how to treat chafing.
- Keep the area clean and dry to help skin heal faster.
- Gently wash with mild soap and cool water, then pat dry but no rubbing!
- Apply soothing creams like Aloe vera or zinc oxide to calm irritation.
- One of the best locally available treatment is Mustard oil. While on trek or when heading to bed at night, simply apply the oil in your chafed area. This will provide you relief and heal the chafe.
- Use anti-chafing balms or petroleum jelly to protect skin from more rubbing.
- Wear loose, breathable clothes to avoid trapping sweat and friction.
- Take breaks from activity to give your skin a chance to recover.
- If you are on trek and chafing happens then dust the area with talcum powder or baby powder to absorb sweat and reduce friction quickly.
- Use a bandage or soft cloth to cover the raw spot and protect it from further rubbing while you move.
Ways to Prevent Chafing
Chafing can be prevented with the following tips.
- Wear moisture-wicking, breathable clothes that keep sweat away from your skin.
- Apply anti-chafing balms, powders, or petroleum jelly on spots that usually rub.
- Choose well-fitting clothes which are not too tight, not too loose, so they reduce friction.
- Keep your skin clean and dry, especially before long activities.
- Stay hydrated and take breaks to cool down and air out sweaty areas.
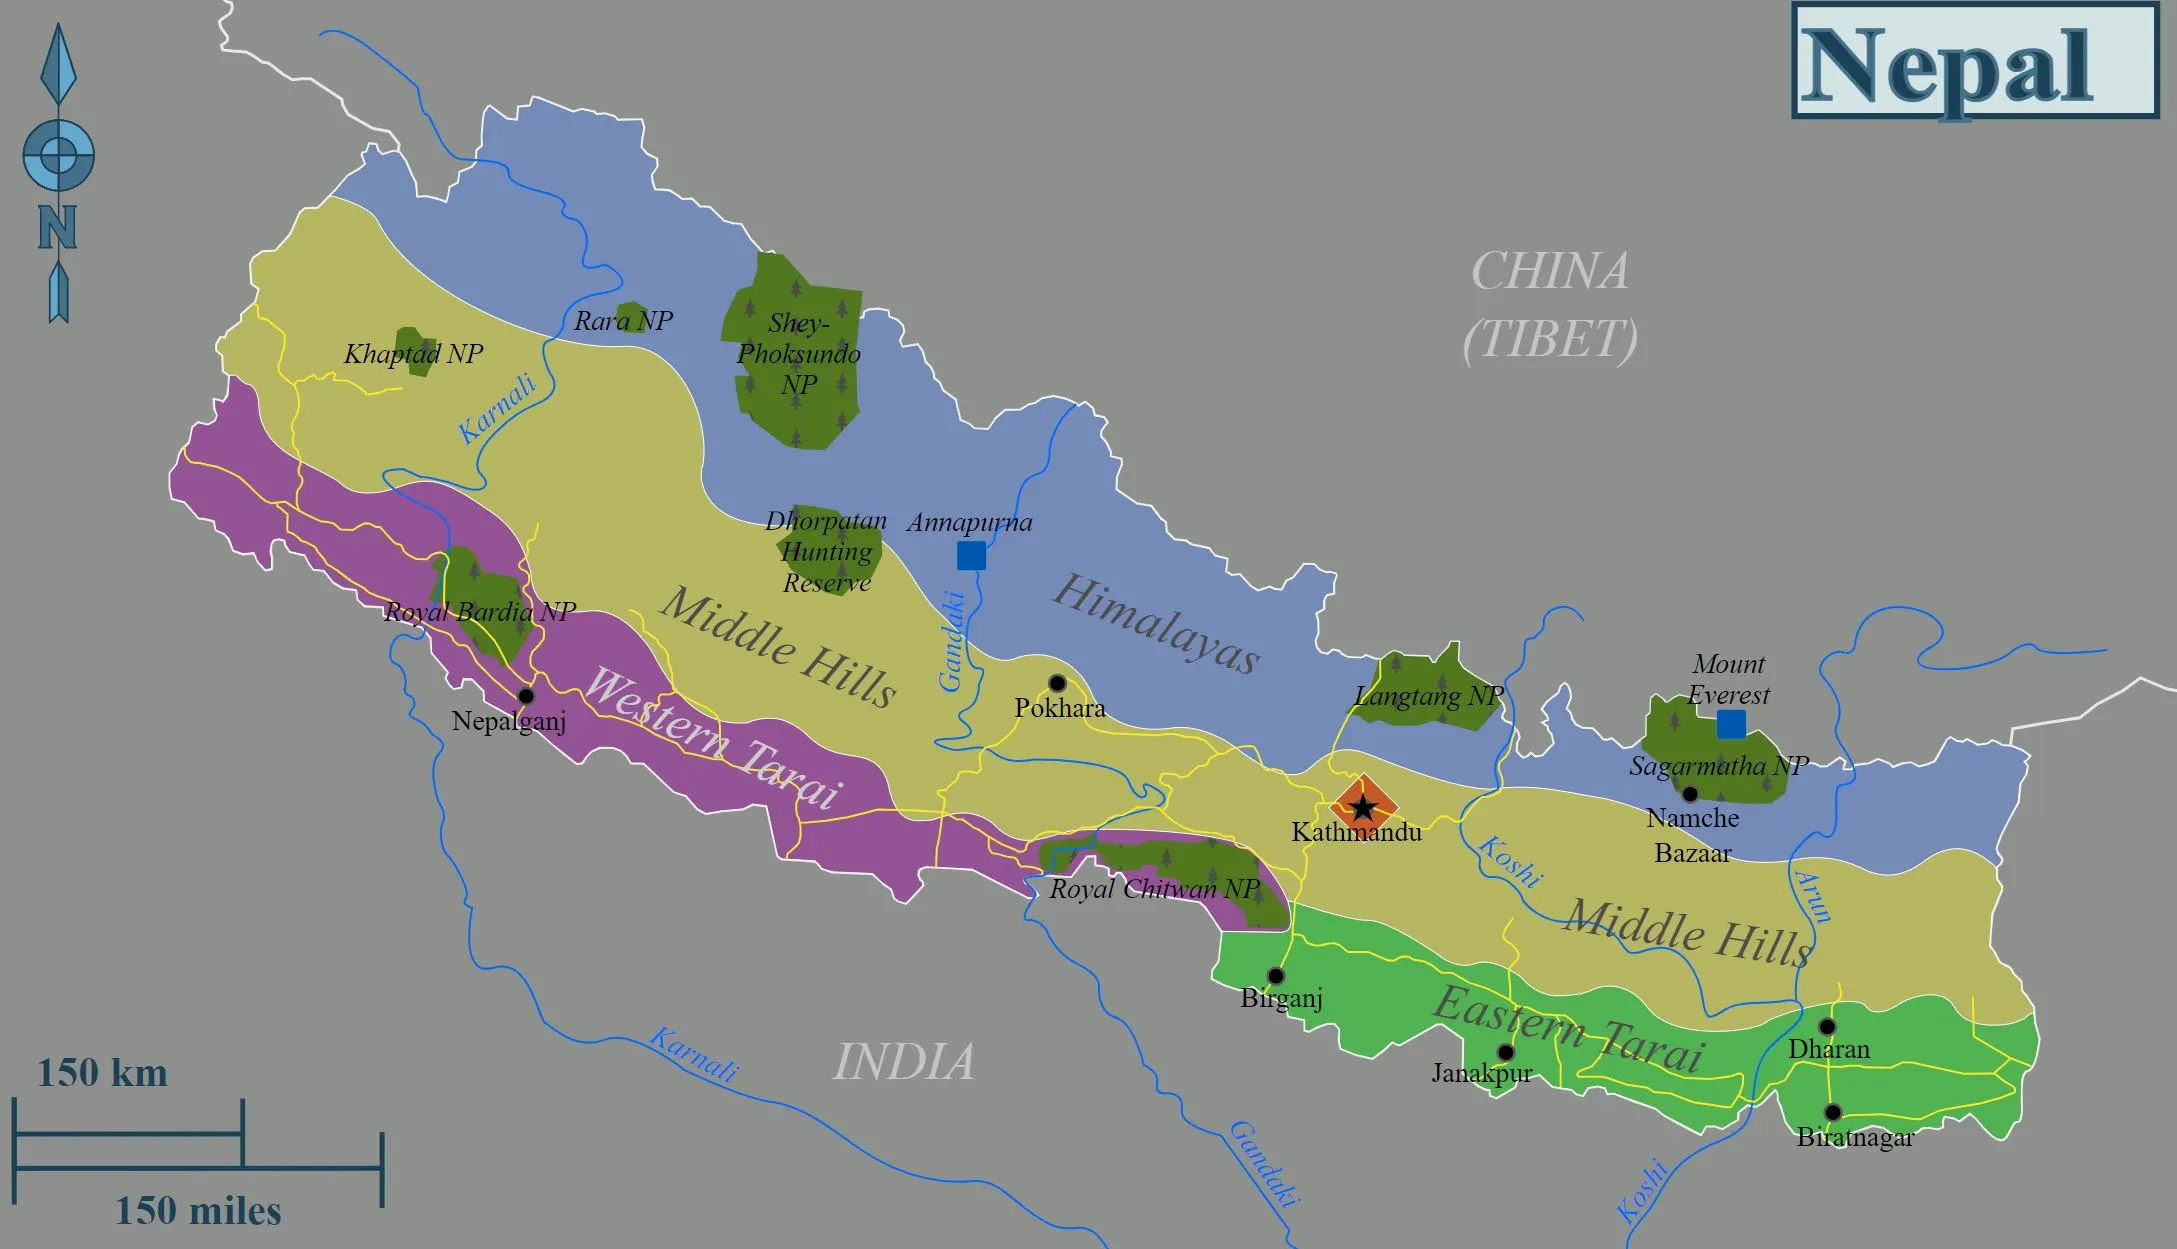
Nepal Trekking Routes
related post
Want to know more?
Speak to an Expert


Sandip Dhungana
Nepal 🇳🇵
Whatsapp: +977-9823636377
Author
Bryan BK is a storyteller at heart and an adventurer by soul. As a passionate writer and traveler, he finds inspiration in the places he visits and the people he meets. Through his words, he brings destinations to life, sharing experiences that inspire others to explore, dream, and discover.


Leave Your Comment